
Improve your web scraping skills with WebHarvy‘s seamless proxy integration. In this guide, we’ll show you how to set up a proxy in WebHarvy, opening up a world of efficient and reliable data extraction.
A proxy server acts as an intermediary, increasing anonymity, bypassing restrictions, and preventing IP blocking. WebHarvy understands their importance and provides user-friendly settings for easy broker integration.
Learn the simple steps to setting up a proxy in WebHarvy and unleash the full potential of your web scraping efforts. Harness the power of WebHarvy with our proxy setup guide.
To set up a proxy in WebHarvy
- Install WebHarvy Web Scraper.

- Navigate to Webharvy’s Home tab and select Settings and then Proxy Settings.


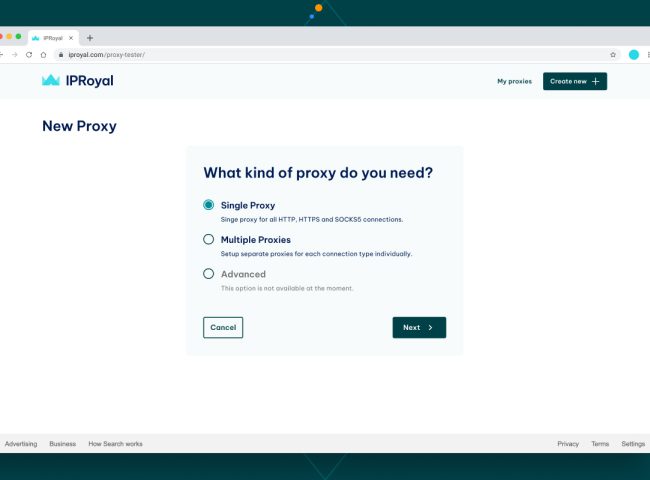
- Get a proxy server if you do not have one, we recommended Proxy-cheap.
- To obtain your proxy’s IP address, port, username, and password, visit the dashboard for your proxy.
- Go back to WebHarvy Proxy settings
- Paste your proxy information on WebHarvy Proxy settings.

- Click on the “+” sign.

- If you have multiple proxies servers, repeat these steps.
- If a proxy server is listed in error or has to be deleted, select it in the proxy list and then click the ‘Minus’ button.

- Press “Apply” when you are done.
Conclusion
By learning how to set up a proxy in WebHarvy, you’ve been able to overcome obstacles and unlock the full potential of web scraping. With improved anonymity, and the ability to bypass restrictions, and avoid IP blocking, you can extract data easily and efficiently.
WebHarvy‘s easy-to-use proxy integration ensures a seamless experience for all users, enabling you to streamline the data extraction process and explore new possibilities.
Happy Scraping!
I’m Amine, a 34-year-old mobile enthusiast with a passion for simplifying the world of proxy providers through unbiased reviews and user-friendly guides. My tech journey, spanning from dial-up internet to today’s lightning-fast mobile networks, fuels my dedication to demystifying the proxy world. Whether you prioritize privacy, seek marketing advantages, or are simply curious, my blog is your trusted source.

Leave feedback about this